How to take good photos of Northern lights? These 4 easy steps will help you capture the magic of the sky
Northern lights are one phenomena which everybody should see at least once in their lifetime. You need some luck to see them. Even if the odds are in your favor, it’s never 100% sure that they will show up.
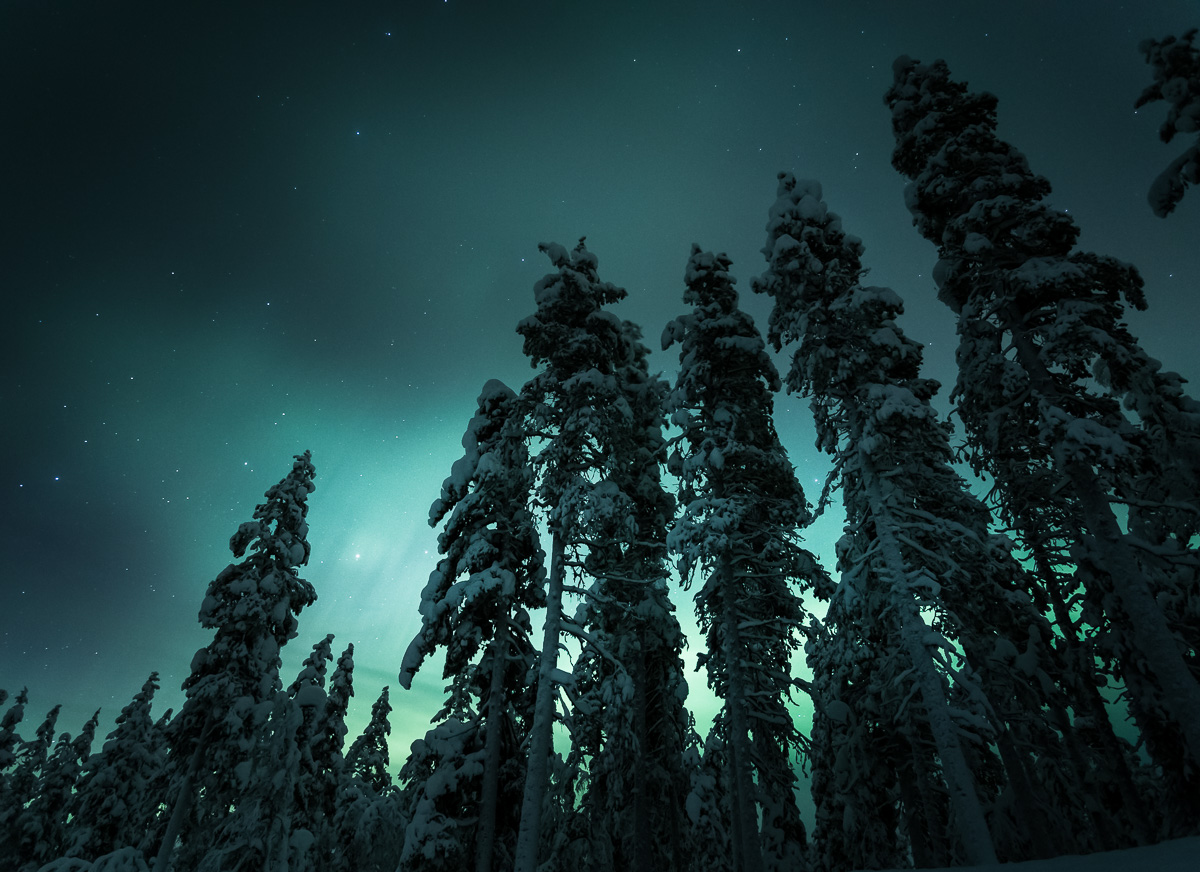
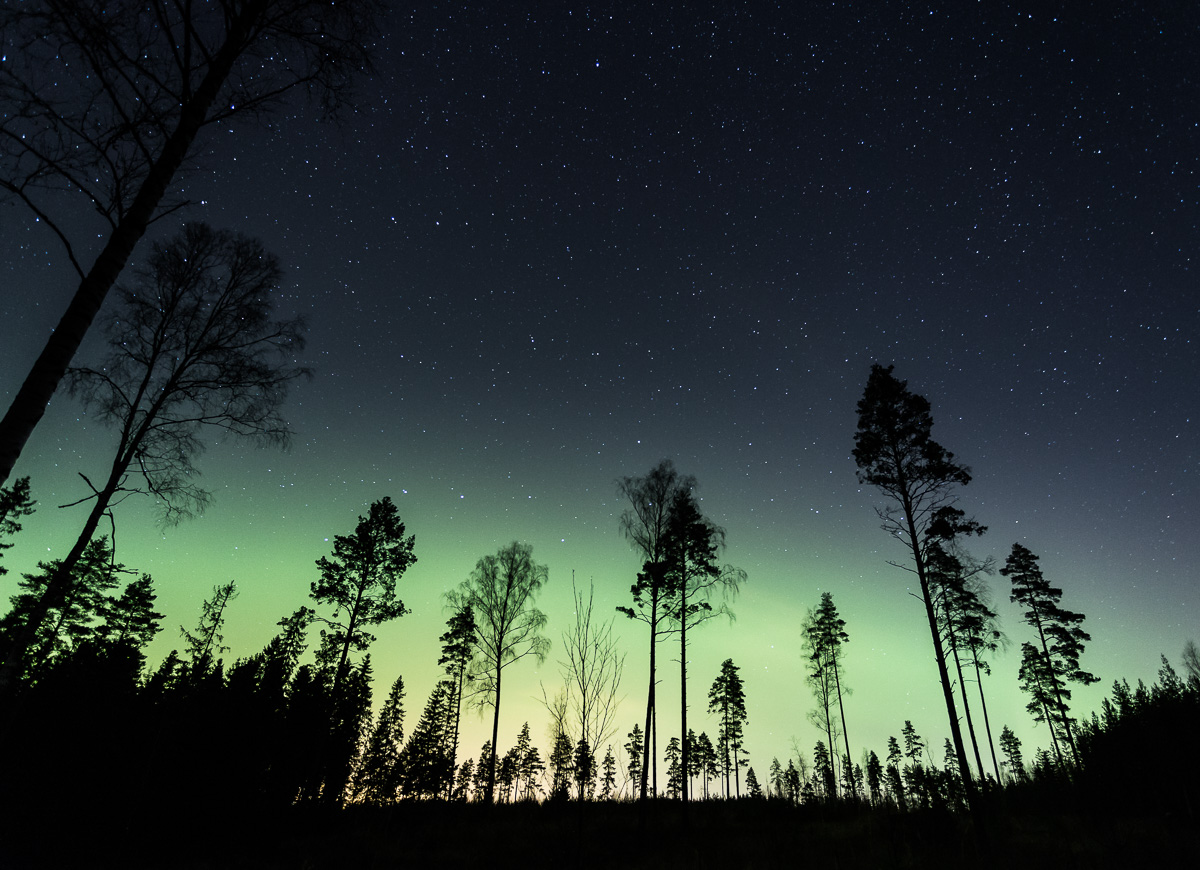
Lights hiding behind the trees.
Fortunately Finnish Lapland usually offers pretty good conditions for an amazing light show. Every now and then Northern lights are visible also in Southern Finland.
Location: Tampere, Southern Finland. Settings: ISO800, f4, 8sec.
Seeing is one, photographing another thing. Here are a few tips that can help you to capture the show.
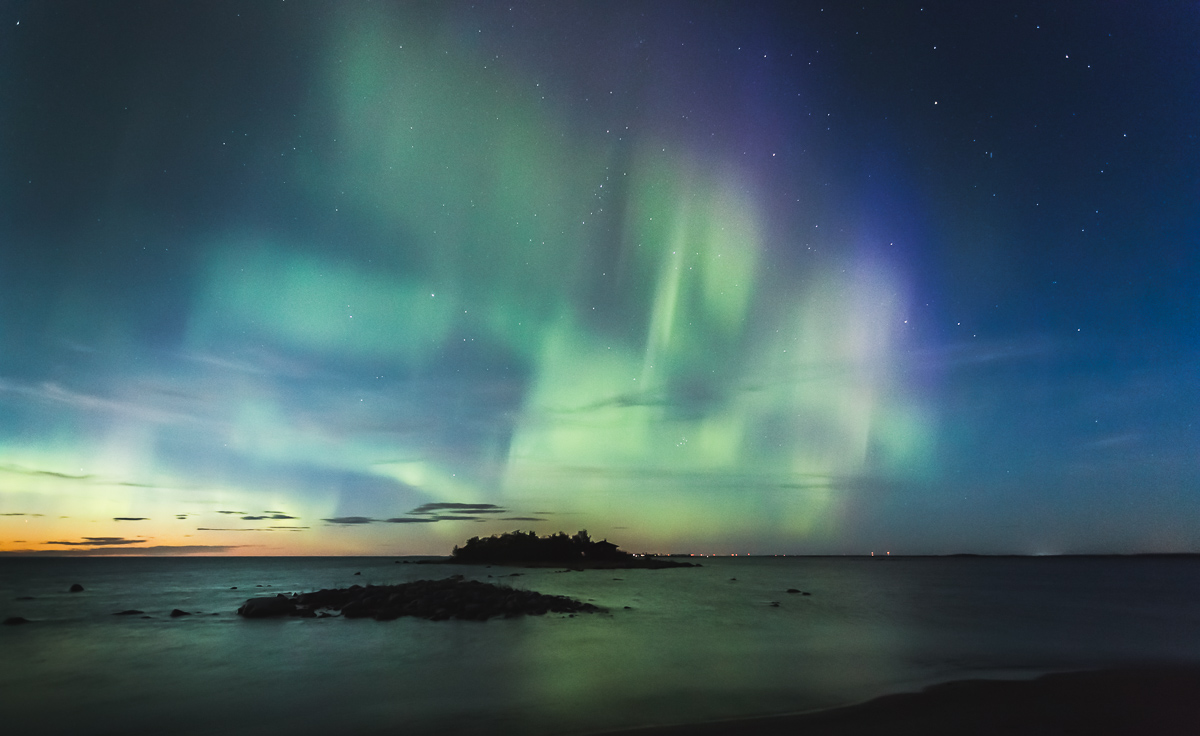
I was photographing sunset and suddenly this aurora show started. Settings: Iso 6400, f4, 2 sec.
-
Best time to capture the auroras
Polar night during the winter offers many hours of darkness, but it’s also cold. Very cold! Like -20 celcius degrees (-4 fahrenheit). Summer is out of the option: There is sunlight 24 hours a day. It is completely possible to photograph auroras during winter, but wear proper clothes. Also remember extra batteries. Cold drains them fast. My advice is September and October during autumn, and March to April during spring. Autumn is also time of colors and spring is great for snowy sunset photos.
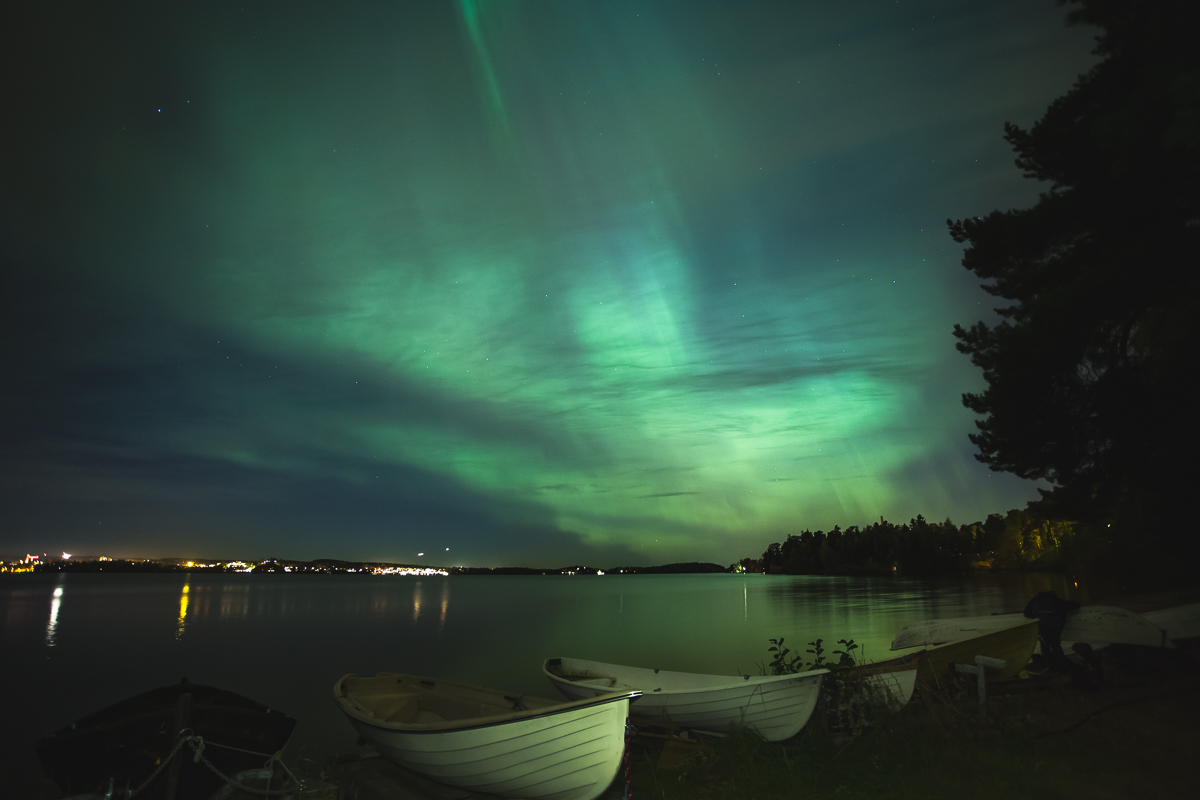
Dim auroras and city lights. Settings: ISO 2500, f4, 25sek.
-
Wait for the dark and clear skies – use Aurora forecast
There can be Northern lights during the day, but they are not visible while sunlight is still strong. Sometimes powerful Northern lights can be seen after sunset. Find a dark place and wait. Clear skies are also essential. If the clouds are too thick, you can’t see auroras. Be patient. Sometimes even a cloudy night can offer 30 minutes of clear skies and awesome light shows. They might appear in one minute and be gone in the next. It doesn’t hurt to use forecast service like Space weather.
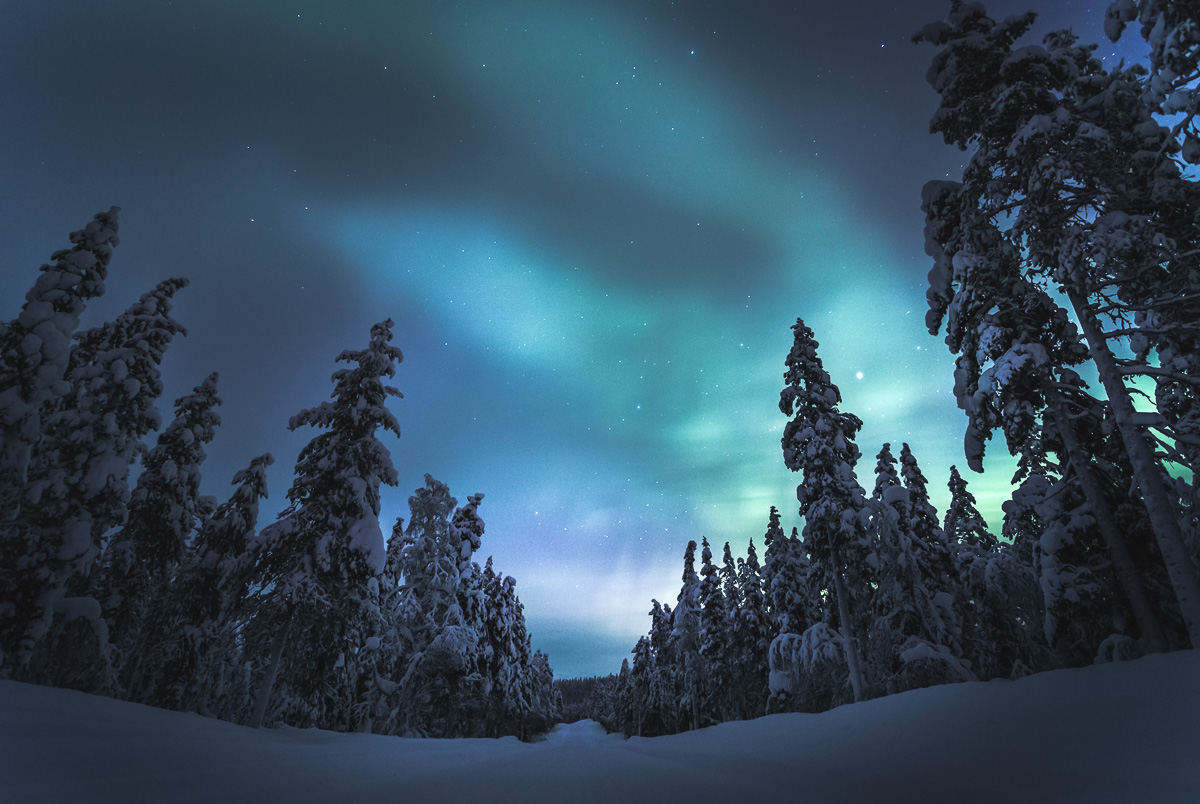
Shallow clouds and auroras in Lapland. Temperature -20c degrees. Settings: ISO 4000, f4, 25 sec.
-
Use a tripod or something else to hold the camera in place
While aurora show can be strong, it’s not as strong as daylight. You’ll need to use long exposure, which means holding the camera still for 1-20 seconds. Tripod is great, but you can also use ground or something else to hold the camera in place. And use timer! You don’t want to accidentally move the camera by pressing buttons.
Hossa National Park, Finland. Settings: ISO 2000, f4, 25 sec.
-
Camera settings
The best quality comes with DSLR cameras, but you can get pretty good pictures with pocket cameras and even some cell phones. If you can set ISO, choose shutter speed and aperture, great! If you can’t, it’s ok. With pocket cameras / cell phones, just find a steady place and point to the sky. If you have a night mode and timer, use them.
For DSLR I usually start with these settings: ISO 1600, shutter speed 8 seconds and aperture around 2.8 – 4. If lights are moving fast, try shutter speed of 4 seconds. Remember to compensate by lowering or increasing ISO. You can also try 15 – 25 seconds, but too slow shutter speed could mean one messy light ball photo.

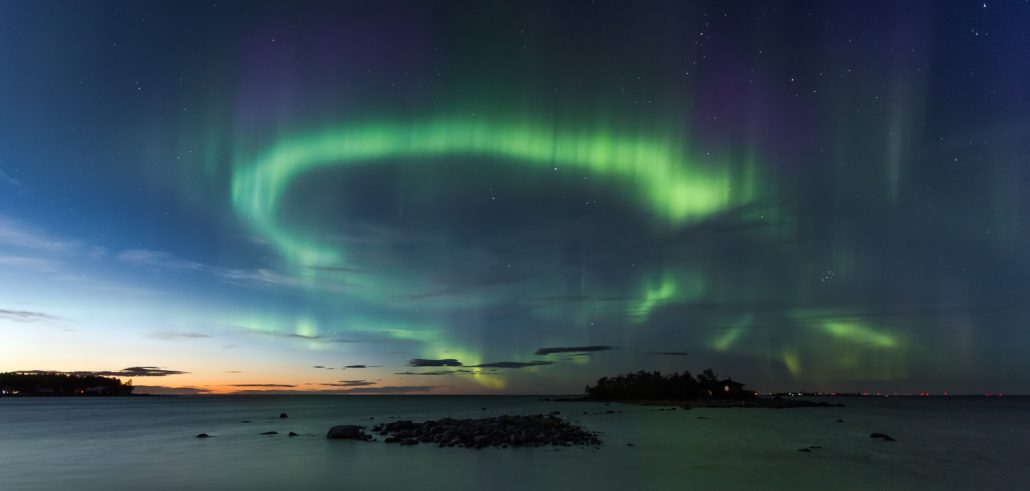
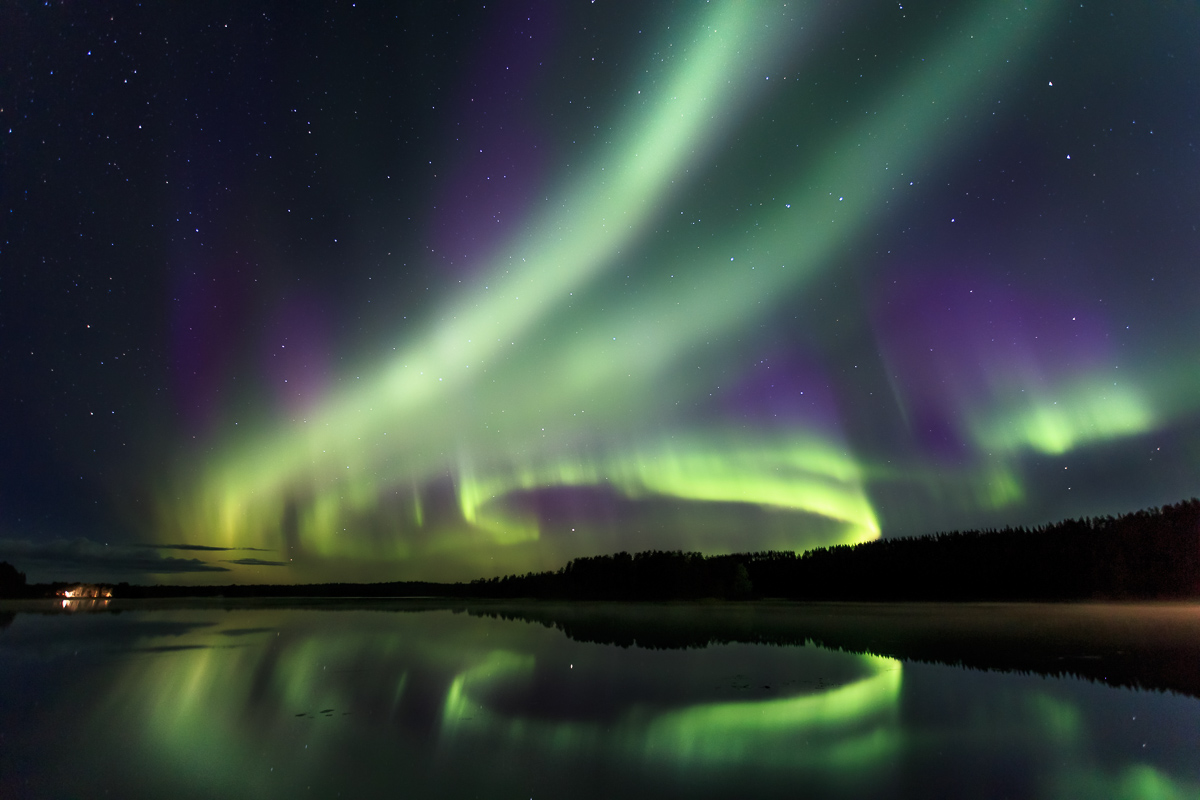
Auroras in purple and green colors. Settings: ISO 1600, f4, 30 sec.
Hopefully these tips help you to capture your own Aurora photos. Please check out my Instagram profile @anttiphotography and comments are more than welcome. Thank you and see you next time!
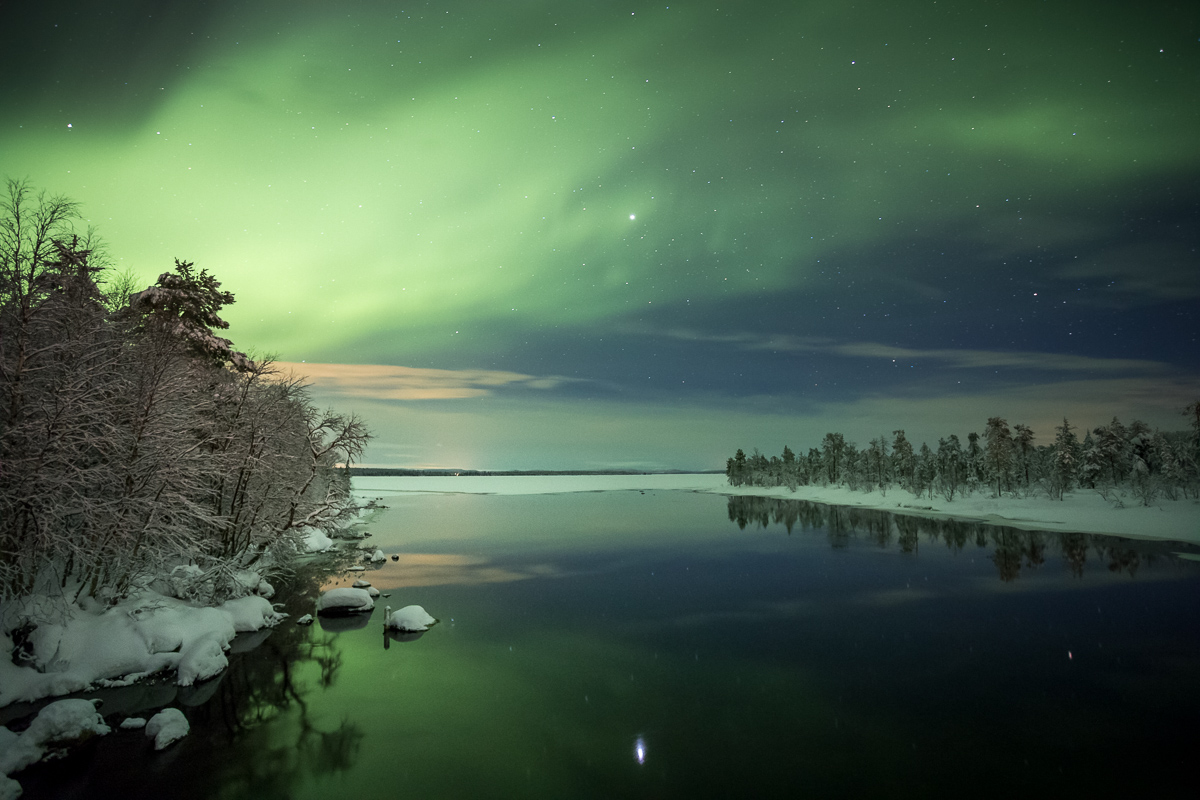
Sudden auroras over lake. Location: Lapland, Finland.


Leave a Reply
Want to join the discussion?Feel free to contribute!